Create surveys with Google Forms
These days I needed an online tool to create a customer survey. Google Docs has a form feature which I tried this time and I was very surprised how easy and powerful this function is. Using Google forms, you don’t need any knowledge about how a web based form works. In this article we will show-case the following functionality:
- Create a form with the WYSIWYG form editor
- How your customers getting access to the survey
- Analyze and and work on the results
- Optional: How-to insert your survey form in your website using a lightbox
About Google Forms and Google Docs
Google Forms is part of Google Docs or better some kind of extension for Google Spreadsheets a web based spreadsheet program. To create a form using Google Docs, you need to have a Google account or a Google Apps account. Both account types are free available. Google offers also premium services for Google applications.
Creating web based forms without being a webmaster
If you start using Google Docs the first time, you get the idea that you’re using a similar application from the Microsoft Office suite. The menu and a lot of functions are very similar. Creating a form is very easy, you don’t need to write any code, just click some buttons and enter your text information:
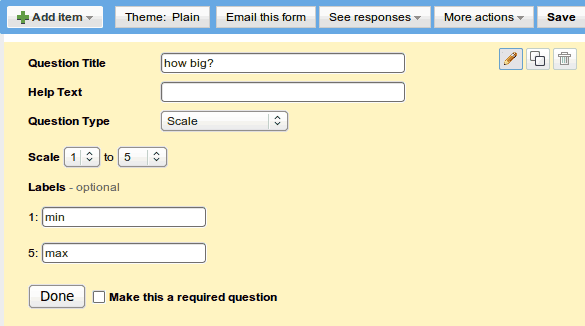
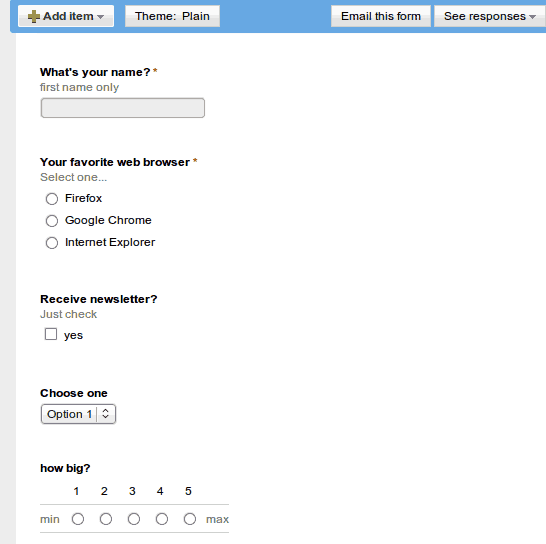
Using Google Docs, you can build forms with all form elements you need: text fields, text areas, check boxes, radio buttons, select lists. Create forms with multiple pages and describe each page and/or form element with the information you like. There are also basic validations for required fields.
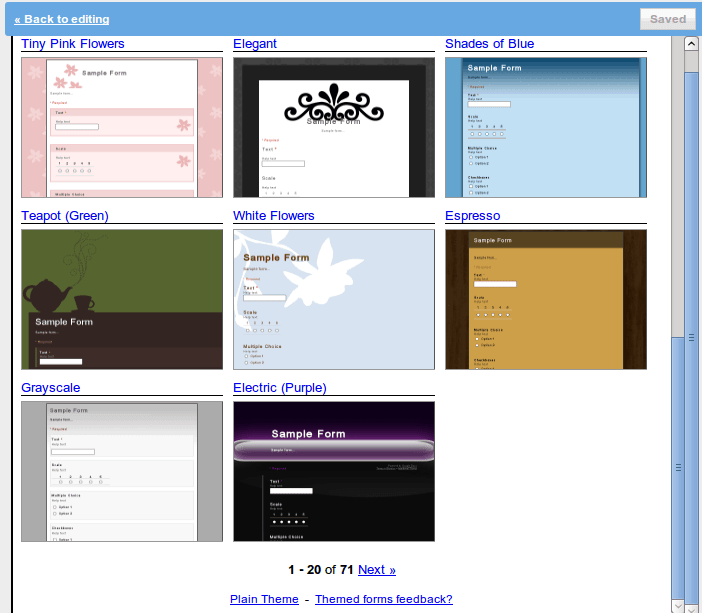
Every element has clear and easy to use dialogs. Based on the language you’re using in Google Docs, you can create forms in most common languages. If your form is ready, you can choose from many fancy themes or if you don’t like them use plain theme type.
How-to send the survey to your customers?
Each Google Form is connected to the contact list from your Gmail account, you can use this list or just post the link to your survey using your mailing list hosted by Mailchimp or any other provider you like. If you use the Google contact list you should create a contact group to save time. Google Apps users are able to collect the user name and/or restrict the form only for users having an Google account from the same domain. If you use a regular Google account, these functions are not available. Don’t forget to post the survey to your company’s facebook fan page or your twitter feed if you have one or both of them.
Easy data access and statistics
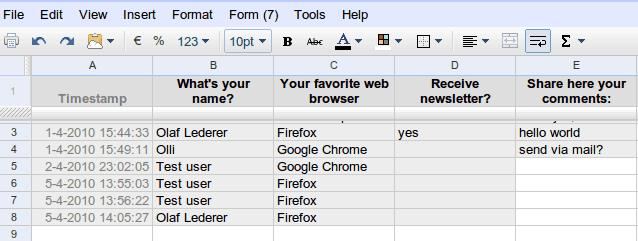
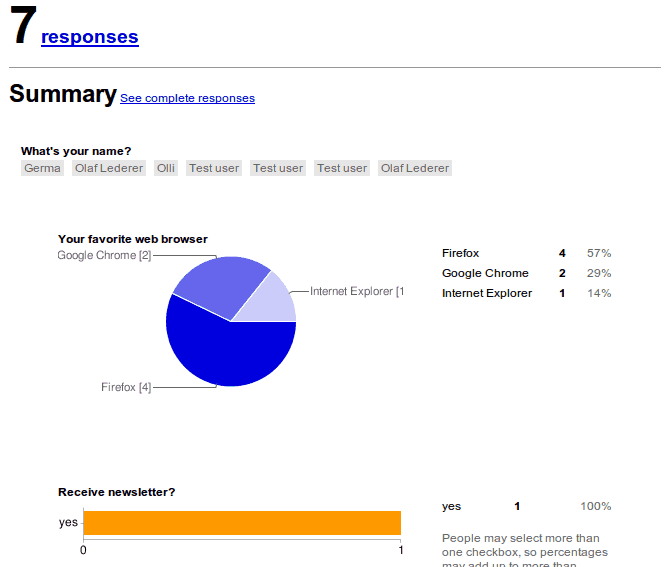
Every form submission is stored in a spreadsheet at the moment the user has clicked the submit button. All submitted form values are accessible and stored together with the timestamp from the moment that the form was submitted. Beside the spreadsheet there is a data summary using graphics which will give you some quick information about how often the data was submitted.
Optional: Stylish integrations for your website or blog
Since Google Forms are hosted off-site, you need some way to embed the code in your website. Google is offering some code snippet which you can use as an Iframe but you can’t customize the style to match your own site’s design. Because you can’t change the style or code, we need an easy way “make it a part” from your website:
- Create your form and use the plain theme
- Add the following code to your websites header to include jQuery and the thickbox plugin:
<script type="text/javascript" src="jquery.js"></script>
<script type="text/javascript" src="thickbox.js"></script>
<link rel="stylesheet" type="text/css" href="thickbox.css" media="screen" />
You need to download upload the files if they don’t exist on your site.
- Create a link to the form URL (copy paste from the footer section on the page where you can edit the form)
<a href="http://spreadsheets.google.com/viewform?hl=en&formkey=dDZjNGROdVllS2JYMGdSZnVSSWF4YkE6MA&TB_iframe=true&height=400&width=500" class="thickbox">Survey Form</a>
Don’t mix the query parameters, any parameter after “TB_iframe” is not recognized on the target page. Change also the values for the width and height to match your forms dimensions. The pseudo class name “thickbox” is used to enable the tickbox feature.
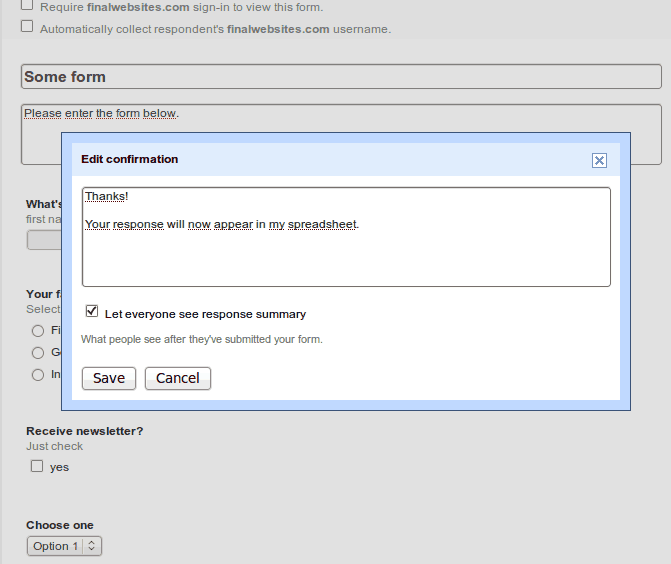
- After submission Google will show a confirmation screen, don’t forget to edit this message (from the edit screen: More actions -> Edit confirmation
Published in: Google Services